
Create an Assignment
Benchmark Universe allows users to create different assignments through a variety of methods. (Including the My Library page)

|
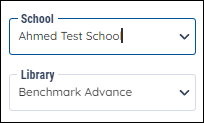
Teachers who have access to multiple schools have the ability to switch between them using the School dropdown above the Library dropdown to the left. Only teachers with access to multiple schools will see the School dropdown on any page. |
Add new assignments using the Assignments List page
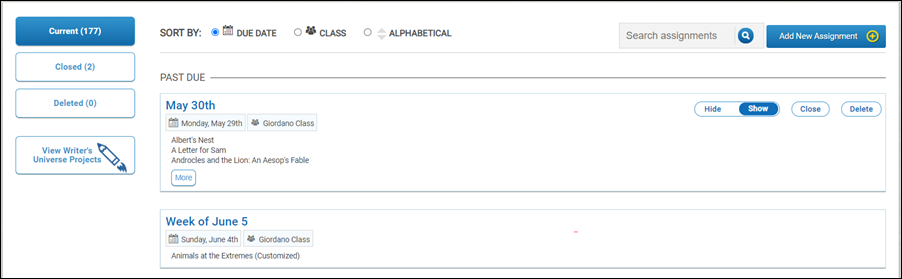
You can add new assignments on the Assignments List page by using the Add New Assignment button.
-
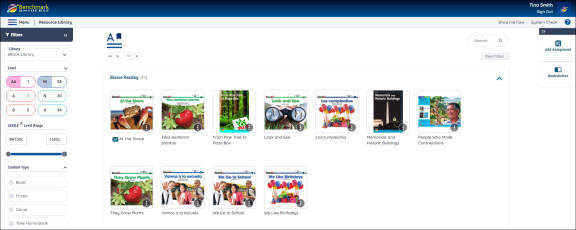
Click Assignments on the Dashboard. The Assignments List page appears.
-
Click Add New Assignment. The Resource Library Appears.
-
Drag materials to the Add Assignment icon. The Create Assignment modal appears.
-
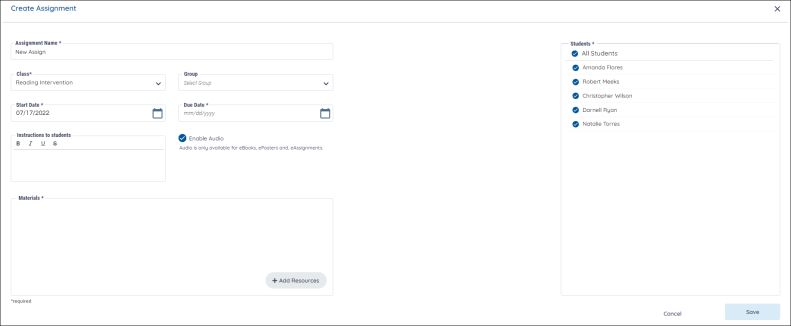
The default assignment name is the name of your first selected resource. You can modify this name by typing a new name into the Assignment Name box.
|
|
Assignments with an assessment can only include one assessment at a time and cannot include any other resources. If you’d like to provide your students with additional resources, create another assignment. To find out more, go to Create an eAssessment Assignment. |
-
Type instructions in the Instructions box if you’d like.
-
Click the Audio toggle, if necessary. Audio is only available for eBooks, ePosters, and eAssessments. Audio is required for some assessment questions and cannot be disabled. Questions with optional audio can be enabled/disabled by the audio toggle key.
|
|
Teachers can change the audio settings on an assignment at any time by changing the audio available toggle, saving the assignment again, and then having the student refresh their test in the test taker. Students can refresh the test to get the latest audio setting by pressing reload if they already have the test open, saving, and reopening the test, or launching it for the first time. |
-
Your first alphabetical class is the default selection. You can select multiple classes from the Class dropdown to create one assignment for multiple classes. Choose a class from the dropdown if you’d like to choose a different class. You can select multiple classes from the dropdown if you’d like them to receive a particular assignment. If you select multiple classes, an assignment will be created for each class, and all students and groups will be included.
If you choose to select multiple classes from the Class dropdown to create one assignment for multiple classes, the assignments will populate as separate assignments on the Assignment List page.
- Choose a group or groups from the dropdown list if you’d like to assign to students within an existing group.
-
The default Start Date is the day you are creating the assignment. Select the date if you’d like to set a different start date.
-
Type or select an end date in the Due Date box.
-
Select Save. The Assignment list is updated and shows all relevant student information with a Not Started status.
|
|
Users that select multiple classes lose the ability to choose a group. Users can navigate to the Assignment Details page to add groups in and remove any students that they do not want to complete the assignment. |
|
|
You can only add the following resource types to an assignment.
Note: A message appears if you attempt to add a resource not included in this list. |
Assign Customized Materials to Students
You can assign customized materials by following a few simple steps.
- Go to the Resource Library page.
-
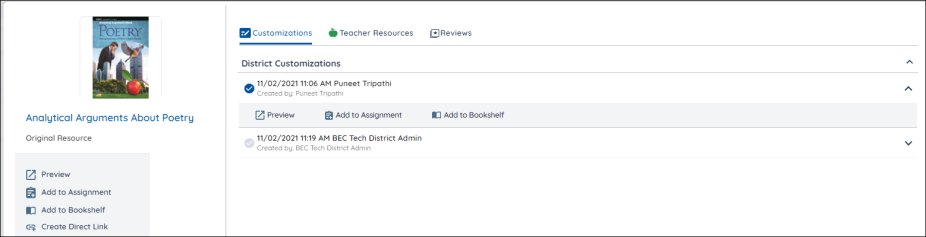
Select a previously customized assignment. Previously-customized materials have a customization icon next to their titles.
-
Click the customization icon to display a list of previously-created customizations.
-
Or drag the resource to the Add Assignment button on the right.
-
The Customization you chose will be selected for you in the Customizations list on the Resource Options modal. Select the Add to Assignment button to assign that customized assignment to a student or group of students through the Create an Assignment modal.
![]()
For more information about customizing material, check out:
Add new and customize activities (for ePocket Chart)
Customize a book (for My Library)
Last Updated: January 17, 2024